A little over a year ago, my beautiful wife, Meg (who, bless her heart, puts up with all of my nonsense like this blog and the hundreds of other hobbies I have), and I decided we were no longer going to purchase sandwich bread from the store. I had tried out different recipes for classic sandwich bread and felt like this was a weekly commitment I could easily keep up with.
As I do with anything new I attempt to make, I researched the dish thoroughly, read through a bunch of recipes, and found one that was simple enough to start with. Over time, I’ve been able to tweak it, change it, and truly make it my own. After a year of making our sandwich bread from scratch, I can confidently say that it’s well worth the effort. The zen of kneading, the incredible smell as it bakes, and the kids eagerly waiting for it to cool down (you’re supposed to wait an hour after it bakes, but we aren’t always that patient!) are all part of the joy of making it at home.
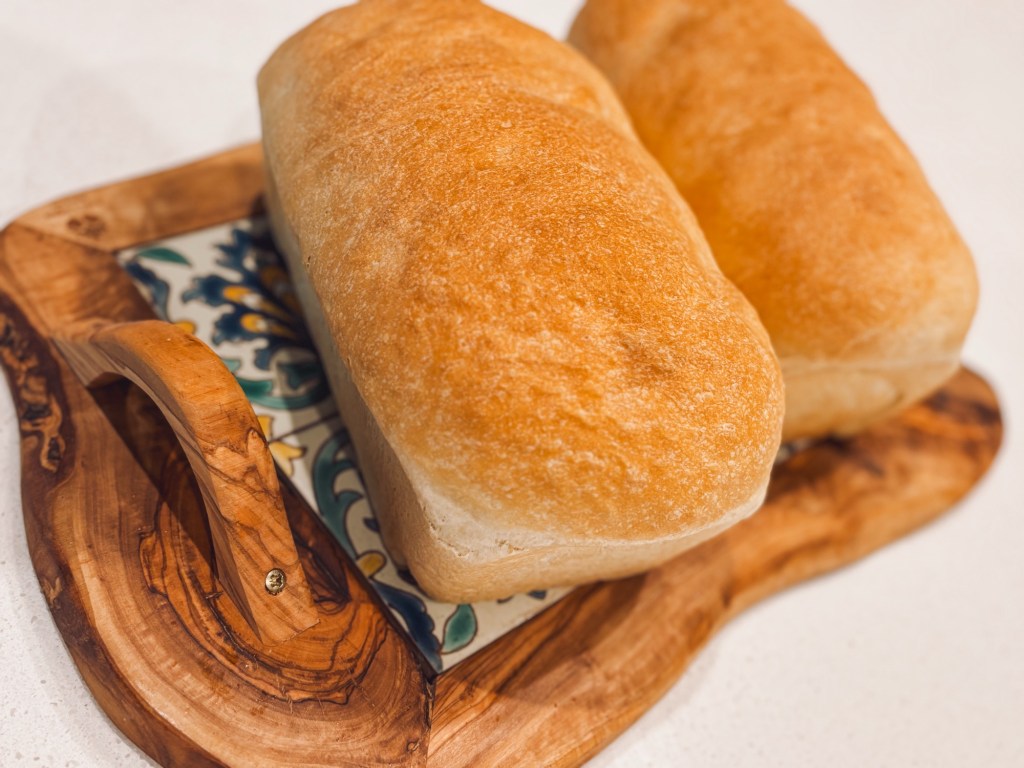
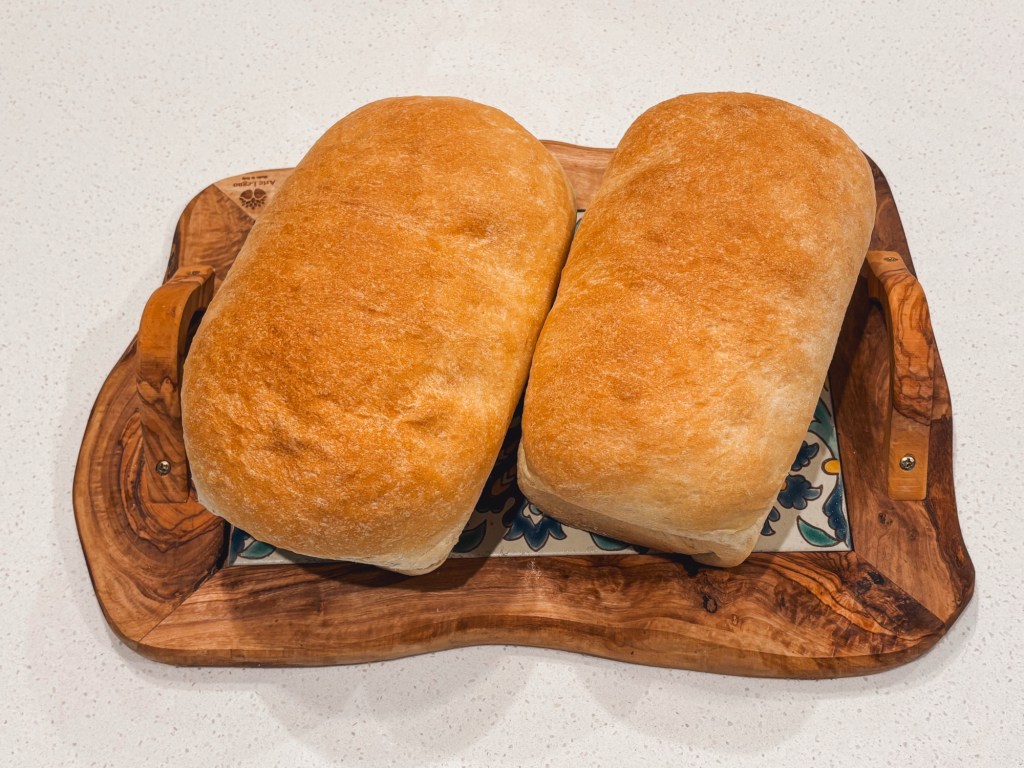
Just as with any baked good, your first attempt will likely not be your best. Do not be discouraged! Even after a year, I have some loaves that resemble construction material more than the staple of life. Keep at it, and you will be amazed by your progress and the delicious results. Below is the bread recipe and process that I use weekly. One batch makes two loaves.
Sandwich Bread
Ingredients
275g Hot Tap Water
230g Whole Milk
114g Melted Butter
14g Instant Yeast
25g Sugar
720g Unbleached All-Purpose Flour
15 g Salt
Method of Production
- Gently whisk together the water, milk, melted butter, yeast, and sugar either by hand or in a stand mixer bowl. Allow the mixture to rest for 10 minutes until the yeast is foamy and bloomed.
- If using a stand mixer, switch to the dough hook attachment.
- Add the flour and salt to the yeast mixture. Mix on low speed until a shaggy, cohesive dough forms.
- Remove the dough from the bowl and knead by hand on a lightly floured surface for 7 to 9 minutes until a smooth, elastic dough forms. If the dough is sticky, dust it lightly with extra flour, adding it slowly as you knead.
- Place the kneaded dough in a lightly oiled bowl and cover it with plastic wrap or a clean kitchen towel.
- Allow the dough to perform its first rise (bulk fermentation). Let it rise at room temperature until it has nearly doubled in size, which will take approximately 1 ½ to 2 hours, depending on your kitchen’s temperature.
- Once doubled, gently uncover the dough and gently punch it down to deflate the air.
- Transfer the dough to a lightly oiled work surface. Divide the dough into two equal halves.
- Shape each piece of dough into an 8-inch (20 cm) log or loaf shape.
- Place each shaped log into a greased loaf pan (standard 8.5 x 4.5-inch is common) and cover the pans loosely with plastic wrap.
- Allow the loaves to perform their second rise (proofing) for approximately 45 to 60 minutes, or until the dough is nicely domed and has risen about 1 inch above the edge of the pan. About 30 minutes into the proofing time, preheat your oven to 350˚F (175˚C).
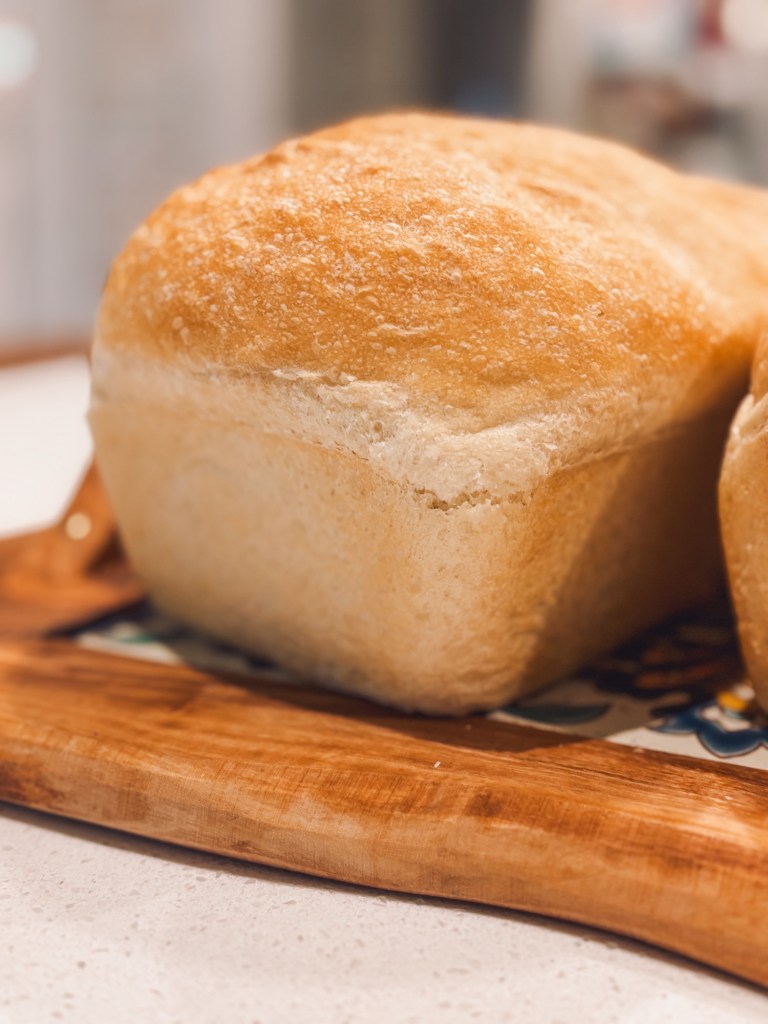
- Remove the plastic wrap and bake the loaves for 28 to 30 minutes until the crust is golden brown.
- Immediately remove the baked bread from the pans and transfer it to a wire cooling rack. Allow the bread to cool completely for 1 hour before slicing.
Baking Note: Flour amounts can vary based on the humidity in your kitchen. You may need a little more or a little less flour to get the right dough consistency. Trust the feel of the dough more than the exact measurement.


Leave a comment